


My friend was admiring my bible cover a few Sundays ago and complaining that hers was just to masculine ... So I said "give it here."
 After a quick trip to Joann's to select fabric and embellishments.... I did a quick pre-wash and got started. I cut 2 pieces of fabric long enough and wide enough to wrap around the cover and create flaps to go around the front and back.
Make sure you allow for the seam allowances.
 Sew the 2 pieces right sides together ... and leave a small hole so that you can turn the whole thing right side out....
 Trim the seam allowance at the corners.
 And Press....
 Hand stitch that opening with a blind stitch.
 Now try it on your book and adjust where your flaps
will hit on the inside front and back covers.
 This is the time to make sure that your print is facing the correct direction...
 Stitch the flaps in place...
 Clip all of the extra threads...
 Turn right side out and press again....
 Try it on for size...
 It's looking good.... Now for the fun part....
 I laid out my design so that I had a good idea of what I wanted it to look like.
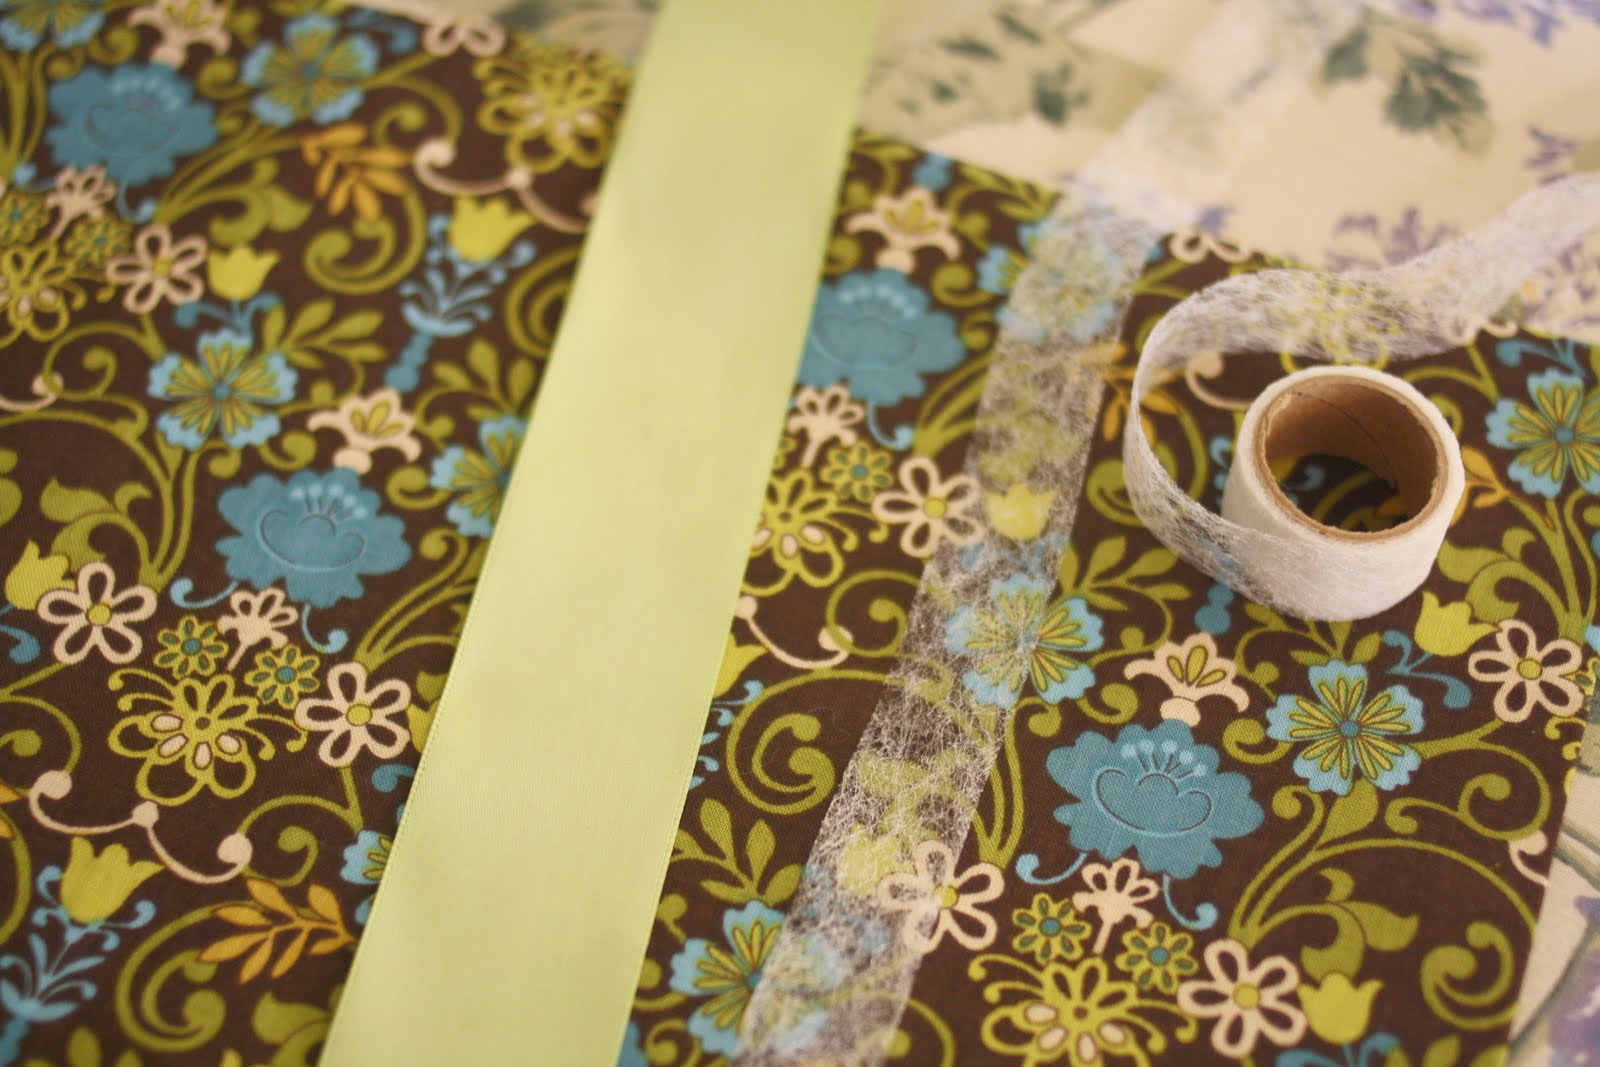
 I used fabric glue for the thin ribbon and buttons...
but I used Stitch Witchery for the wide ribbon. It just bonds very nicely and you
don't have to worry about lumps and bumps.
 I used parchment paper inside the flap so that the glue
would not bond the pocket closed.
 I used the flower patch to cover the overlap of the ribbon...
 And then of course one on the back to match!
 Ahhhh.... That was fun... I love it when my projects turn out good!
(what a relief!)
Can you see how you could really go crazy with these? I love 'um!

I'm joining SJ at Homemaker on a Dime for
the Creative Bloggers Party and Hop
See you there!
the Creative Bloggers Party and Hop
See you there!


26 comments:
Liz, this is just gorgeous. You do such beautiful things and what a perfectly created Bible cover. I am sure your friend is thrilled. I totally love it. Hugs, Marty
Wonderful work! Thank you for this tutorial. I am going to learn sewing and this is one of the projects I have in my mind.
Your book cover is beautiful and practical. I adore your selection of fabric and ribbon and embellishments. Thank you for sharing your technique. Happy stitching...
I love it. And your tute.....was perfect! I know she LOVED it!
Thank you, thank you, thank you! I have been looking at some patterns to make a bible cover and couldn't decide. Your directions look so easy that I do believe I can do this. xo
I thought this was pretty to begin with then you 'upped the game' with the embellishments inside too! Very, very pretty! Thanks for a great tutorial!
This is the cutest Bible cover. I really wish I could sew!
That looks so cute! I used to make book covers out of paper when I was a kid.
Beautiful cover - great tutorial - thanks so much for sharing!
Ramona
http://create-with-joy.com
Calling from homemaker on a dime. This is just beautiful! Asuper cute project...very creative. Thanks a bunch for sharing:)
Now,I'm your newest follower...hope you will follow me back:)
Sanghamitra.
RAINBOW-The Colours of India
I love your book cover, it turned out really nice!
Great work! Lovely cover!
What a beautiful job. I love it.Your choice of embellishments to go with the fabric is perfect.
Bee-yoo-ti-ful!! I have two machines and haven't learned to sew yet-- but I will and this looks like a fun project since I'm a bookworm! Mind if I link to your project on my bookish blog? I'd love my fellow booklovers to see this.
Thanks for the visit! I will keep your flower hop in mind-- but I usually don't cut my flowers.
:o)
Hi Liz, your new bible cover looks so pretty and I love the way you embellished it with those cute flowers and buttons... thanks for the easy tutorial. I appreciate you stopping by and liking my patriotic tablescape I'm happily following you back!Have a lovely week!~Poppy
http://withadashofcolor.blogspot.com/
I love this! Have you tried to make one that has a closure on it?
I'm dying to try it but I just know it will get pushed wayyyy down on my list. Thanks for the great instructions!
Wow...so pretty! I have a copy of little women that I should do this to, here's hoping it turns out as beautiful as yours!
And....thanks for stopping by my little corner of the blogging world yesterday, your comment made me smile!
New follower....I have fallen in love with all I see here!
Very Pretty - You did a great job. I just know your friend is very happy it it also. Thanks for sharing the tutorial.
Liz,
This is sew pretty! I'm just pea green with envy at all you seamstresses out there!
Beautiful! You do realize you are going to have to make one for everyone you go to church with now, don't you? LOL. What a good friend you are.
I love this! It's so cute and there are so many different varieties you could make.
I bet your friend is thrilled to pieces. What a great thing for you to do for her.
Thanks for the great tutorial!!
So pretty! I really need to do this to mine, thanks for inspiration!
Oh, my! That's one sassy bookcover! Linking this up made the Creative Bloggers' Party & Hop very special. Thank you!
This is sooo cute!! Love the fabric!
Wow !!! This is soo creative.... And I love the fabric that you have chosen and the embellishments.... IT has turned out so well..and perfect...!!! Love it..!!
Post a Comment