


Okay! So over the last year or so I have had a few
requests to show you what I do and use to make
my manicures look like a salon manicure and so that
they last more than a week. (sorry for the run on sentence)
So here's the whole process.

First I wanted to show you what my nails look like after a week.
Not to bad. I do a lot of crafting, and clean my own home.
Plus, I work full time.

Okay, let's get started, shall we?
Before I take my old polish off, I file. Leaving the polish on
helps to to quickly see the shape of my nail. Plus I feel like
it helps to protect the nail from splitting. I also think that
a glass file works best for me. This is the OPI file that
I mentioned in my favorites post down below.

I use pure acetone. I know that there are a lot of people that
won't like this. But here's the deal. It's fast and I wash my hands
several times during the process anyway. Plus, its cheap!

Once that's done, I wash my hands and apply the cuticle remover.
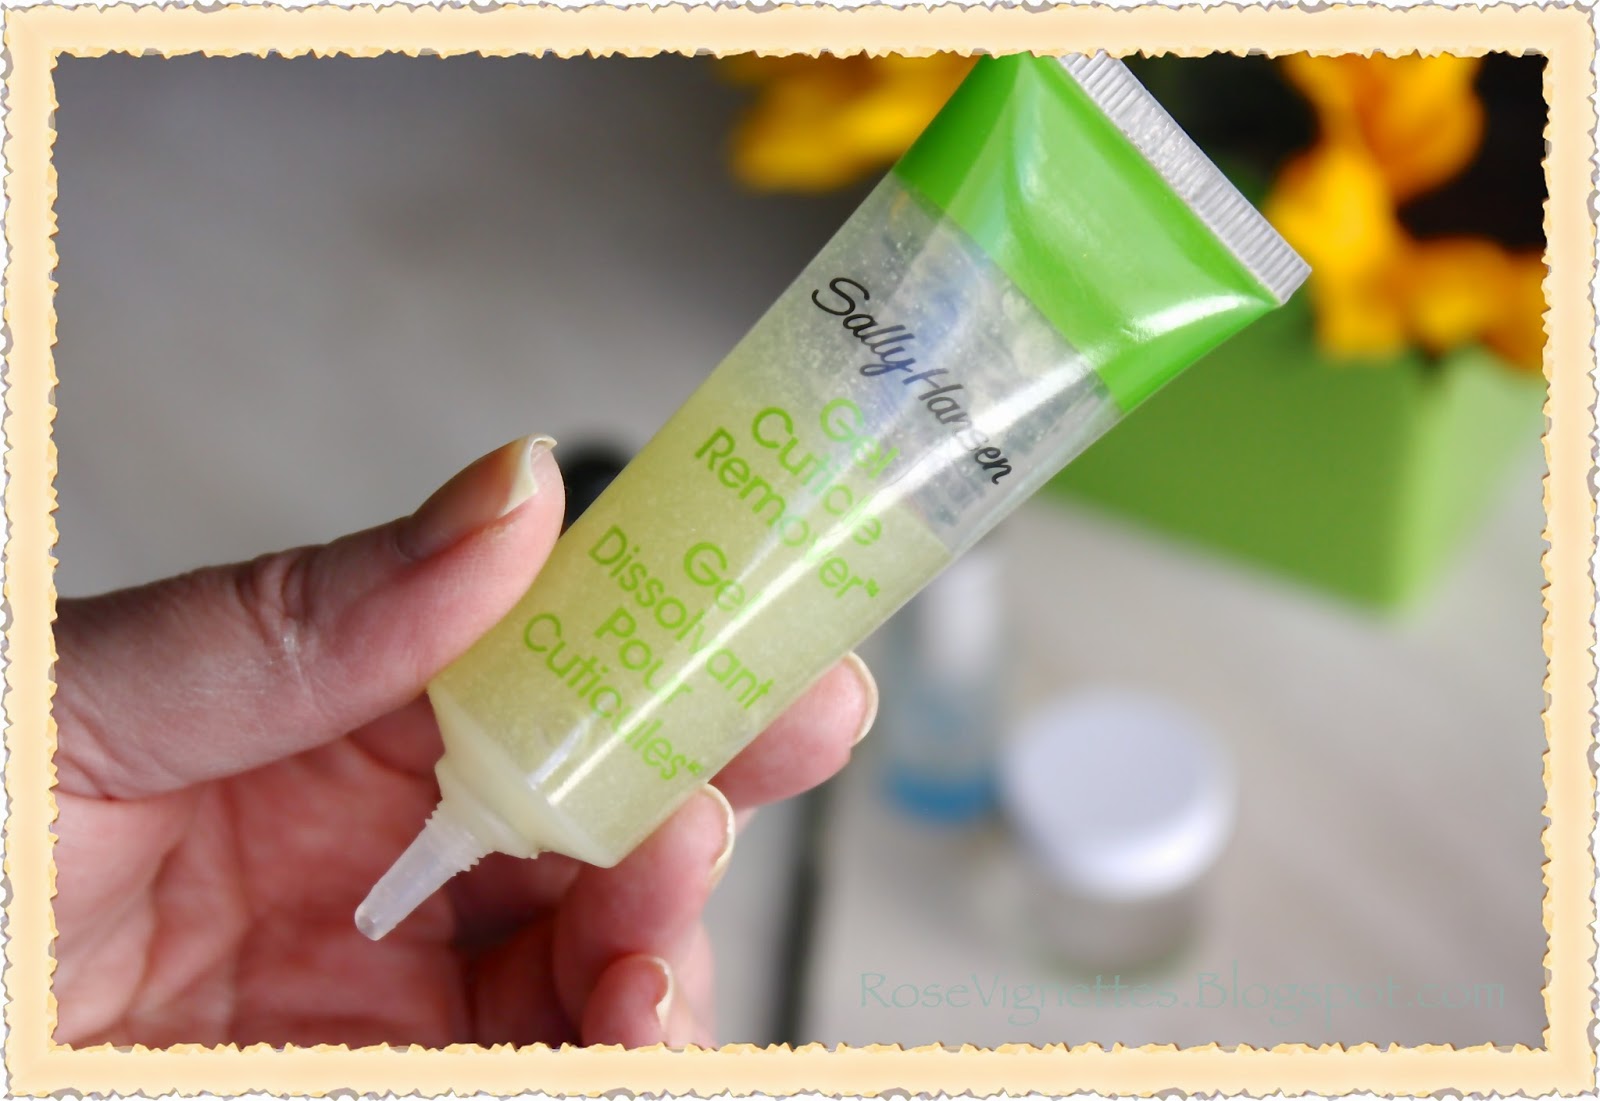
The one that I am currently using is from Sally Hanson.

This is not my favorite, but they have changed the formula and
I'm still looking for a replacement.

After the cuticle remover is worked in, very gently push the
cuticles back. Now wash your hands. NEVER leave the
cuticle remover on. It will continue to work, so you want
to remove it when your done.

Next, I nip any dead skin that might be around my nail.
Never clip your cuticles. This can make any possible
hang nails worse.

After all the polish is off and the cuticles are addressed, I
buff the top of my nails. I do this because for some reason
as I have aged, my nails have developed vertical ridges. If
I do this every time then I don't have to work very hard at it.
A couple of passes and I'm done.
I wash my hands again to remove any nail dust.

Okay first coat is my base coat, Stickey by CND.
Why a base coat? It gives the polish something to stick to and
it can help prevent your nails from yellowing.

Try not to flood your cuticles when painting. The base
coat dries very quickly.

Next, nail hardener. This really is a favorite of mine.
I have used it for years. Nailtiques. Here's my theory. Part
of what makes your polish chip is when your nail bends or
folds. When this happens your polish actually will crack and
eventually will chip off.
This products will prevent your nails from bending.

Again, don't flood the cuticle.

Now we're ready for the color. I was inspired by the
sunflowers in the background so I picked this Julie G
color, Canary Islands.

Never shake your polish before you use it. Doing so will
cause air bubbles in the polish. Instead, gently roll between your
hands.


Here's one coat, we'll need another one.

Now this next trick is a secret that I learned and
I'm going to show you. I pour a little acetone in a
small jar and use an angle brush.

I correct any uneven lines. The trick is to do it
before the polish dries.


Finally, I use a coat of quick drying top coat.
My favorite is Seche Vite. But others are good too.
Just make sure that it is quick drying. All told,
I think that I can get a manicure done from start to finish,
including dry time in about 30 to 45 minutes.

SO! there you have the whole process. Let me just say, I'm not
a professional. I'm not saying that you have to do any or all of
this. I'm just sharing that this is the process and the products
that work best for me.

After it is firm I use a serious moisturizer. Like coconut oil.
This makes the cuticles look healthy and picture ready.
I hope this was helpful. Let me know what you like to
use or if you have any favorite techniques.
I would love to hear your secrets!

Whew! Done!
Now lets have tea!
I'll be joining Stephanie for Roses of Inspiration


7 comments:
Wow! What an incredible tutorial. I'm looking at some nails that need some attention, too.
This was such a great post, my friend. I would love to paint my nails, but I find the nail polish always chips after a day since my hands are daily washing dishes, crafting, and cleaning the house. I should try your routine and see how long the paint lasts :)
Thank you so much for sharing with Roses of Inspiration - I love having you at the party. Hugs!
Thanks for this great tutorial! I just recently found the Nailtiques line and have been using the 2 Plus on my nails to strengthen them. I have weak, brittle nails and it makes it hard to keep them nice. Great tips and your nails look wonderful!
Great tips. I do my own nails most of the time, mine are so thin, what do you think would help then to get thicker. I have been told the ridges that I have on my nails are like of calcium.
WOw, I just love your tutorial. Very informative. I hate to go to the salons for manicures. I just don't have the time.
I also love your yellow polish. Perfect for this time of year.
Janet
What a great tutorial, Liz. I shy away from painting my fingernails because of chipping them so easily. With your tips, I should it a try! Yours always look picture perfect.
Hey there,
I'll get straight to the point. Love your blog, and was curious if you would be interested in accepting Mont Bleu products for consideration or testing?
We have quite a few products we would love you to check out. For example glass nail files in various of sizes and decoration (including with Swarovski crystals), PRO glass nail files (with unique rough & smooth surfaces), Glass cuticle sticks, Foot files, etc...
You can select the products yourself, share your preferences, or simple ask us to send based on our experience.
Interested? Email me back, I'd love to chat.
Post a Comment