Posts
Posts


 Start with a tired, old, worn out ottoman... (that you can't get rid of because sometimes you need extra seating and its still in good condition)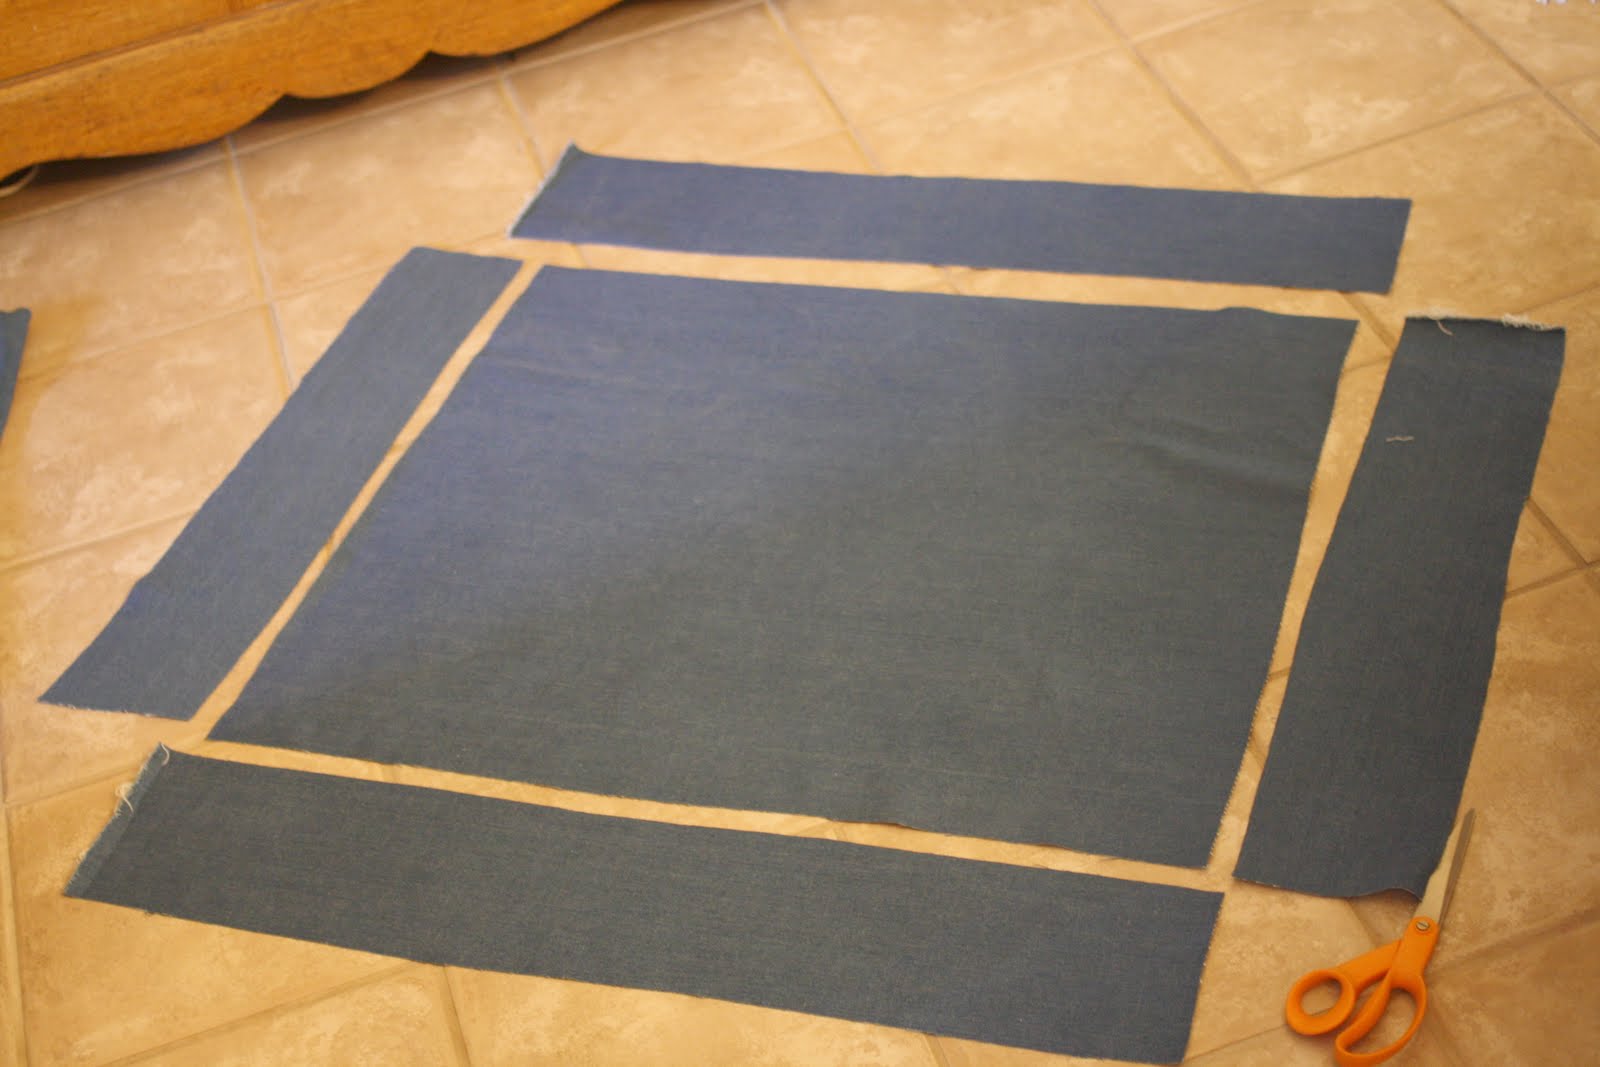
Pre-wash your fabric. I used cheap denim
(if you can call $12.99 a yd. cheap. I used a 50% off coupon... but still!)
because I want to be able to throw it in the wash.
You'll want to put together your top "box" first. Measure your top piece of fabric first and then your sides. Add a little extra for seam allowances.
(if you can call $12.99 a yd. cheap. I used a 50% off coupon... but still!)
because I want to be able to throw it in the wash.
You'll want to put together your top "box" first. Measure your top piece of fabric first and then your sides. Add a little extra for seam allowances.
 Yup! That's my old White Shoulders powder box. I keep my straight pins in there. I only use those long dressmaker type. I hate the little ones.
Stitch the 4 pieces together as shown in my picture..... always press. That was something that the Home Ec. Teacher always told us. I'm sorry that girls don't have that option these days... Oh well... I guess that is what the Blogs are for. LOL!
 Stitch your corners together...
 Stitch your corners together...

Try it on...

Now your going to want to add your ruffle. To make the ruffle, I measured all the way around the ottoman and then quadrupled that measurement. Divided it into 4 and cut 4 pieces of fabric that were each long enough to allow for a hem.
 I sewed all 4 pieces together. I then hemmed the whole long strip.
 Using the longest stitch on my machine I gathered the fabric. To make sure that the gathering was even I attached the ruffle with pins by half and then fourths. Then started gathering and creating the ruffle.
 Stitch that last seam together.
 Ta- daaaa!
I like it!

I'm linking to the Sunday Showcase!